Can I set up more than one clerk?
There’s no need to share your QuailHQ.com login with your clerks and workers; Quail lets you create an unlimited number of dedicated clerk accounts.
To manage your clerks, open the store page in the sidebar on the left:
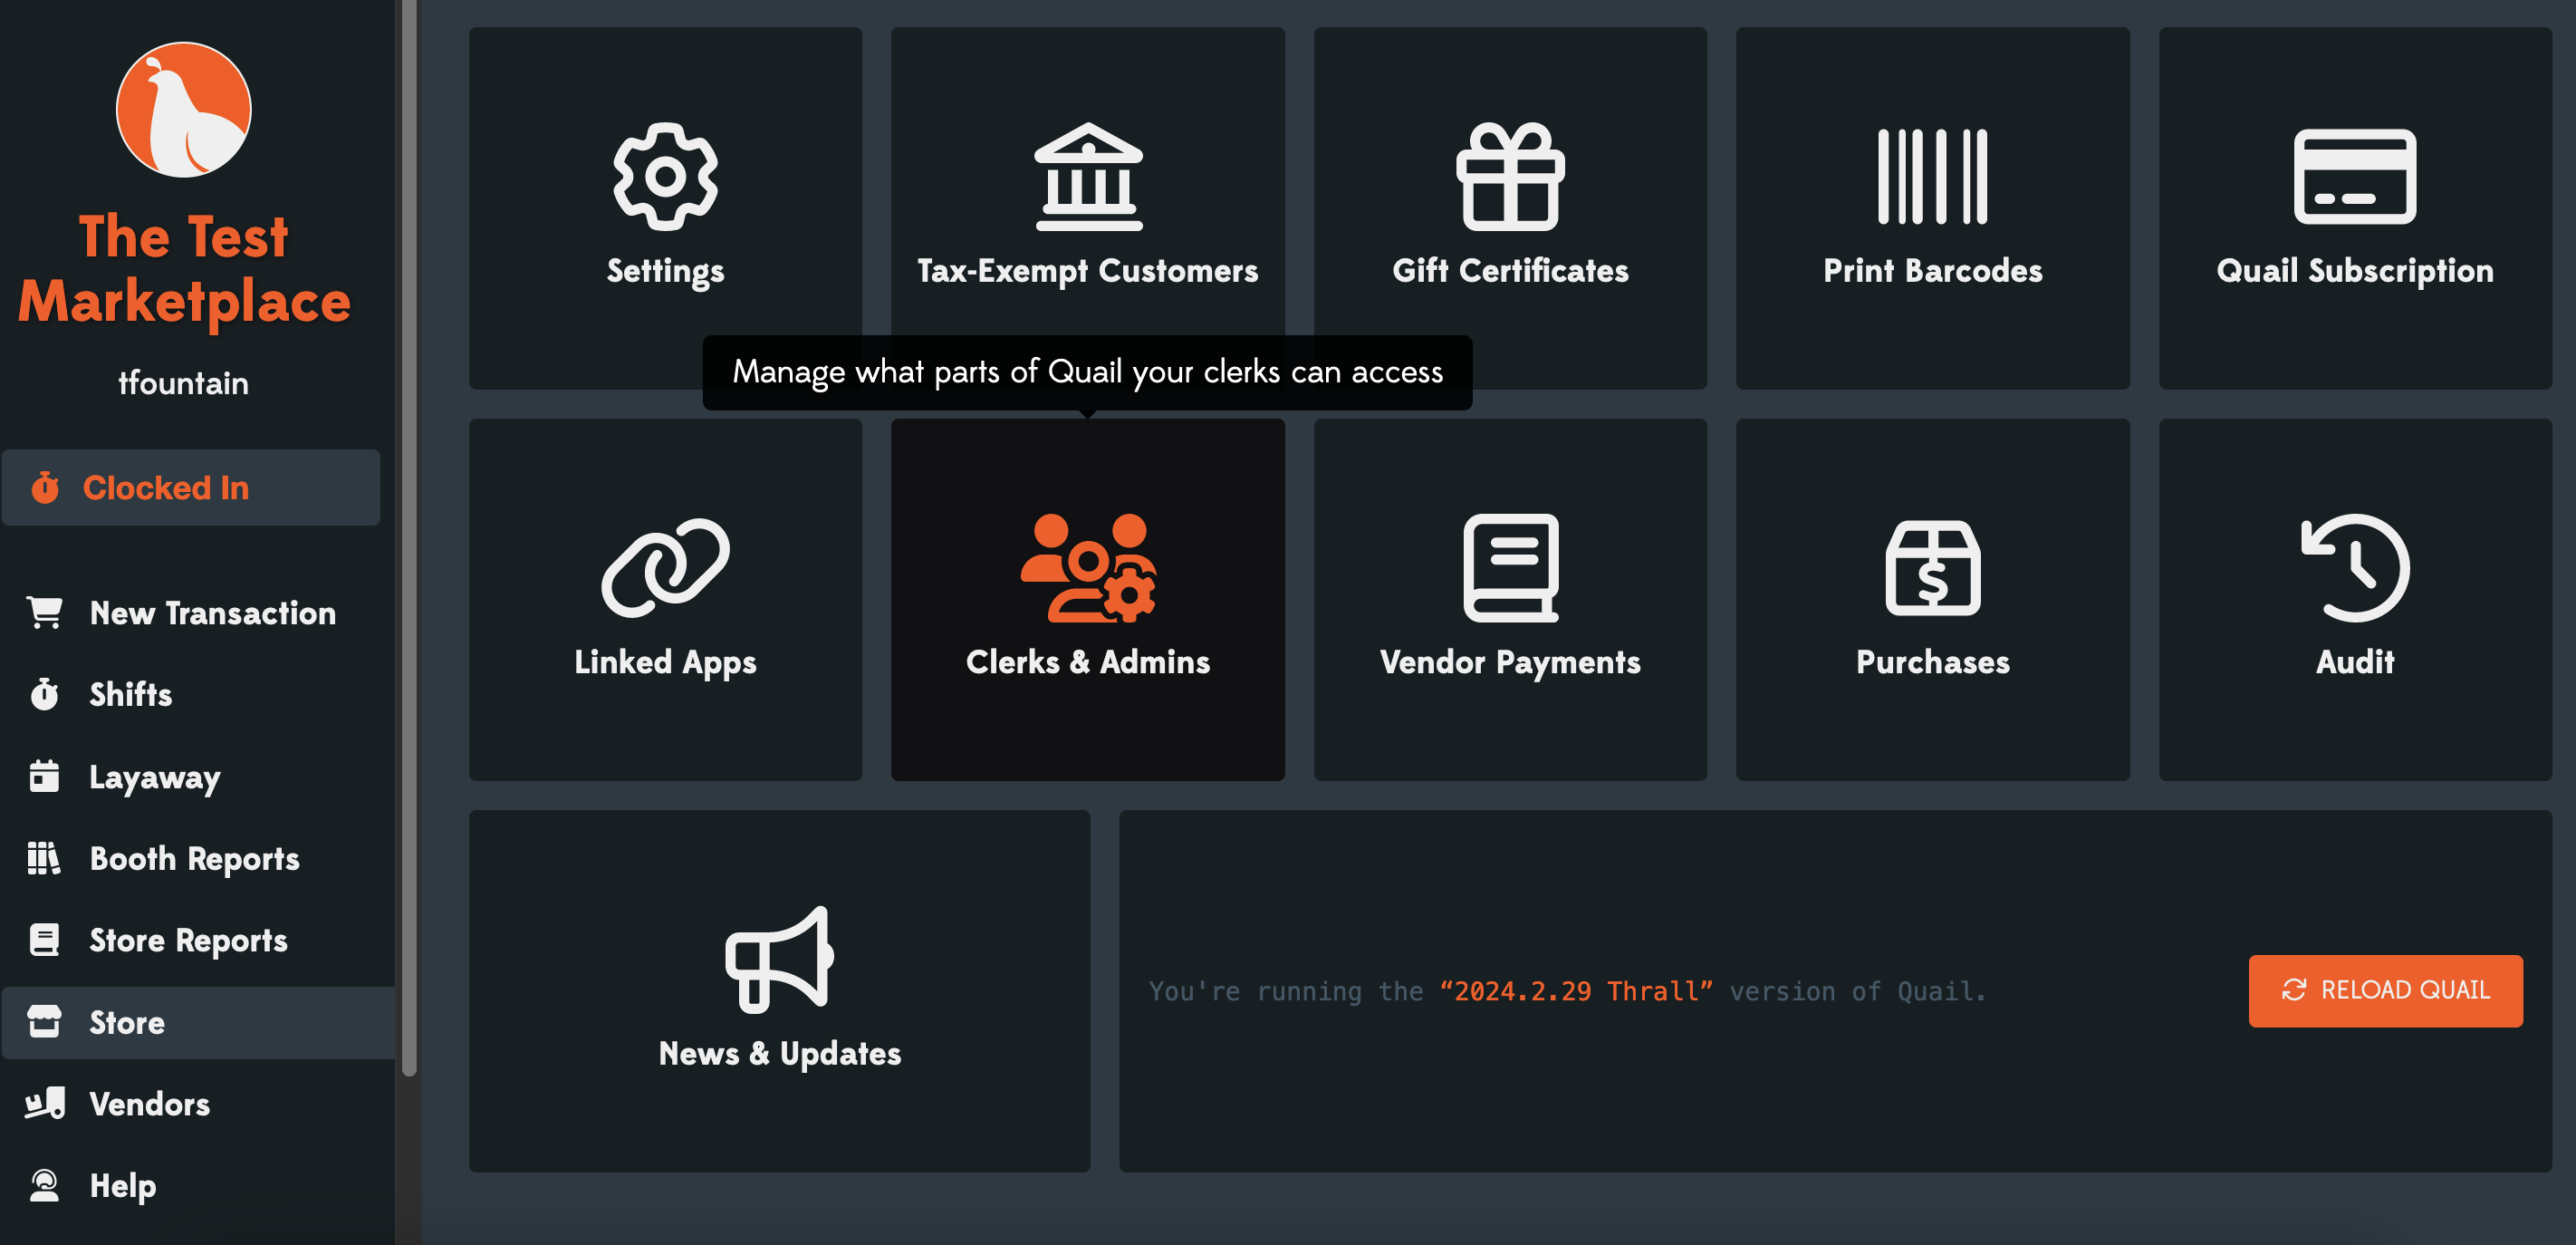
Click on the Clerks & Admins button to open up a list of your clerks. When you first set up your store you’ll have only yourself as a clerk (and that clerk cannot be removed from Quail):

To add a new clerk, click the green ADD NEW CLERK button at the bottom of the page. This will bring up the ADD NEW CLERK page where you can add the required details for this clerk account.

You will need to give them a user name. I like “first initial” + “last name”, but it’s up to you! Usernames need to be unique, though, so you might have to get clever. Next you’ll need to set a Role for the clerk.
By default your clerks will start with one of the four pre-defined roles: Admin, Manager, Clerk, and Finance:
- Admins are for the account (or store) owner; they can do anything. If you’re a one-person operation, this is what your login will be. Every store needs at least one Admin.
- Managers are like Admins, but can’t see or modify the billing info you’ve put in to pay for Quail. They’re, well, managers — they help run your store and manage your clerks & vendors.
- Clerks can ring up sales, take layaway payments, issue refunds, edit past sales, and see register reports. They can’t see vendor or store reports, or add new clerk accounts.
- Finance users are for accountants, if you have one and want to give them access to your Quail. They only have read-only access to your store reports and nothing else.
However, after a clerk account is created, you can add various permissions to any of the roles to fine tune each clerk setup.
Clerks will also need an email address, which they’ll use to recover or reset their password. Finally, you can select wether they receive a welcome email or not. Once you’ve added all the options, just click CREATE NEW CLERK and you’ll have added a new clerk to your store!
Setting A Password
There are two ways of setting a password for your newly added clerk account. The first method involves setting it directly within Quail. To do this just click the key icon to the right of the clerk account here:

If you prefer, you can also just send a reset password email to the clerk’s email address. To use this method, just click the mail icon to the far right of the clerks name and role here:

After a password has been set, the clerk can log into your Quail store as a store (not as a vendor) from quailhq.com and should be all set!
Deleting Clerks
For some stores clerks can come and go over time. If you have clerks that you no longer want to allow access to your store in Quail, you can delete them using the icon to the right of the clerk’s permissions:

Clicking this icon will open up a confirmation – you wouldn’t want to delete clerks by accident!
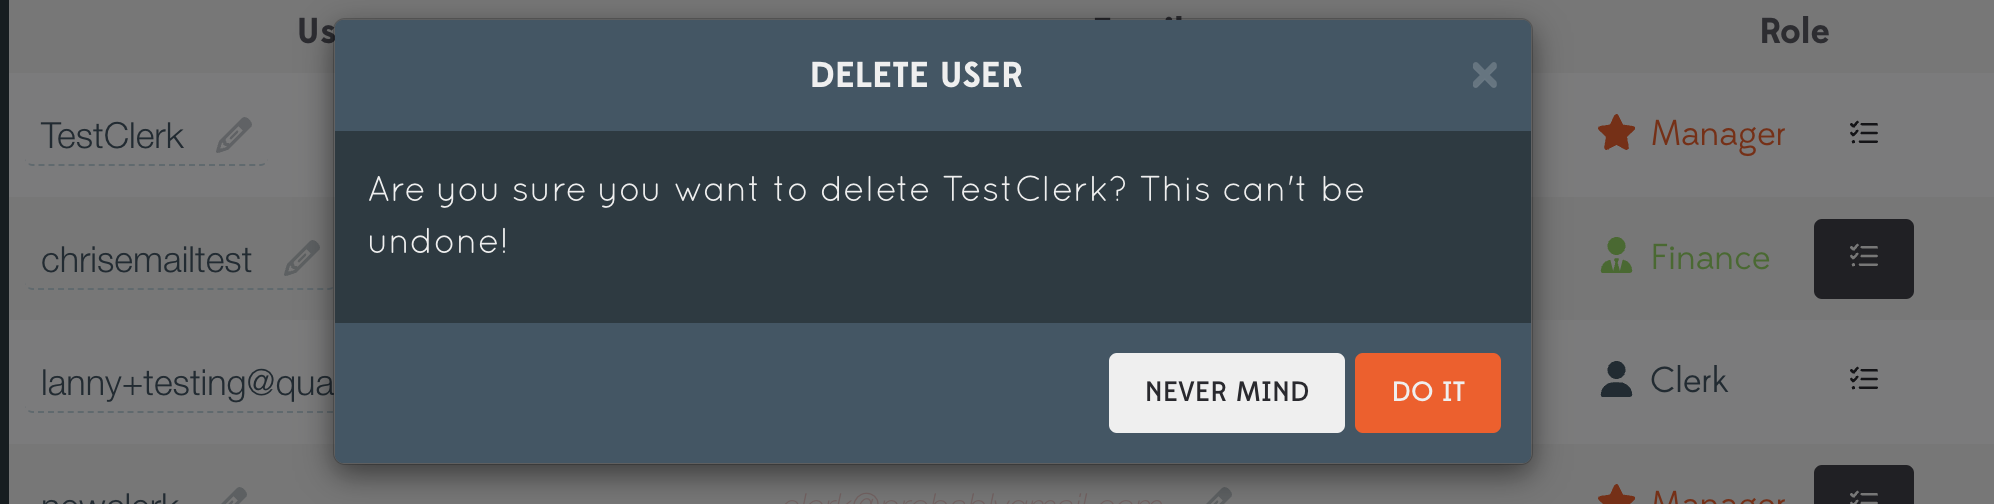
Click the orange button in the bottom-right of this confirmation, and the clerk will be deleted.
Secret Hint: Even though this confirmation says that deleting clerks is permanent, it’s not, really. If you delete a clerk by accident and want to bring them back, send an email to support@quailhq.com and we’ll resurrect ‘em, no questions asked.